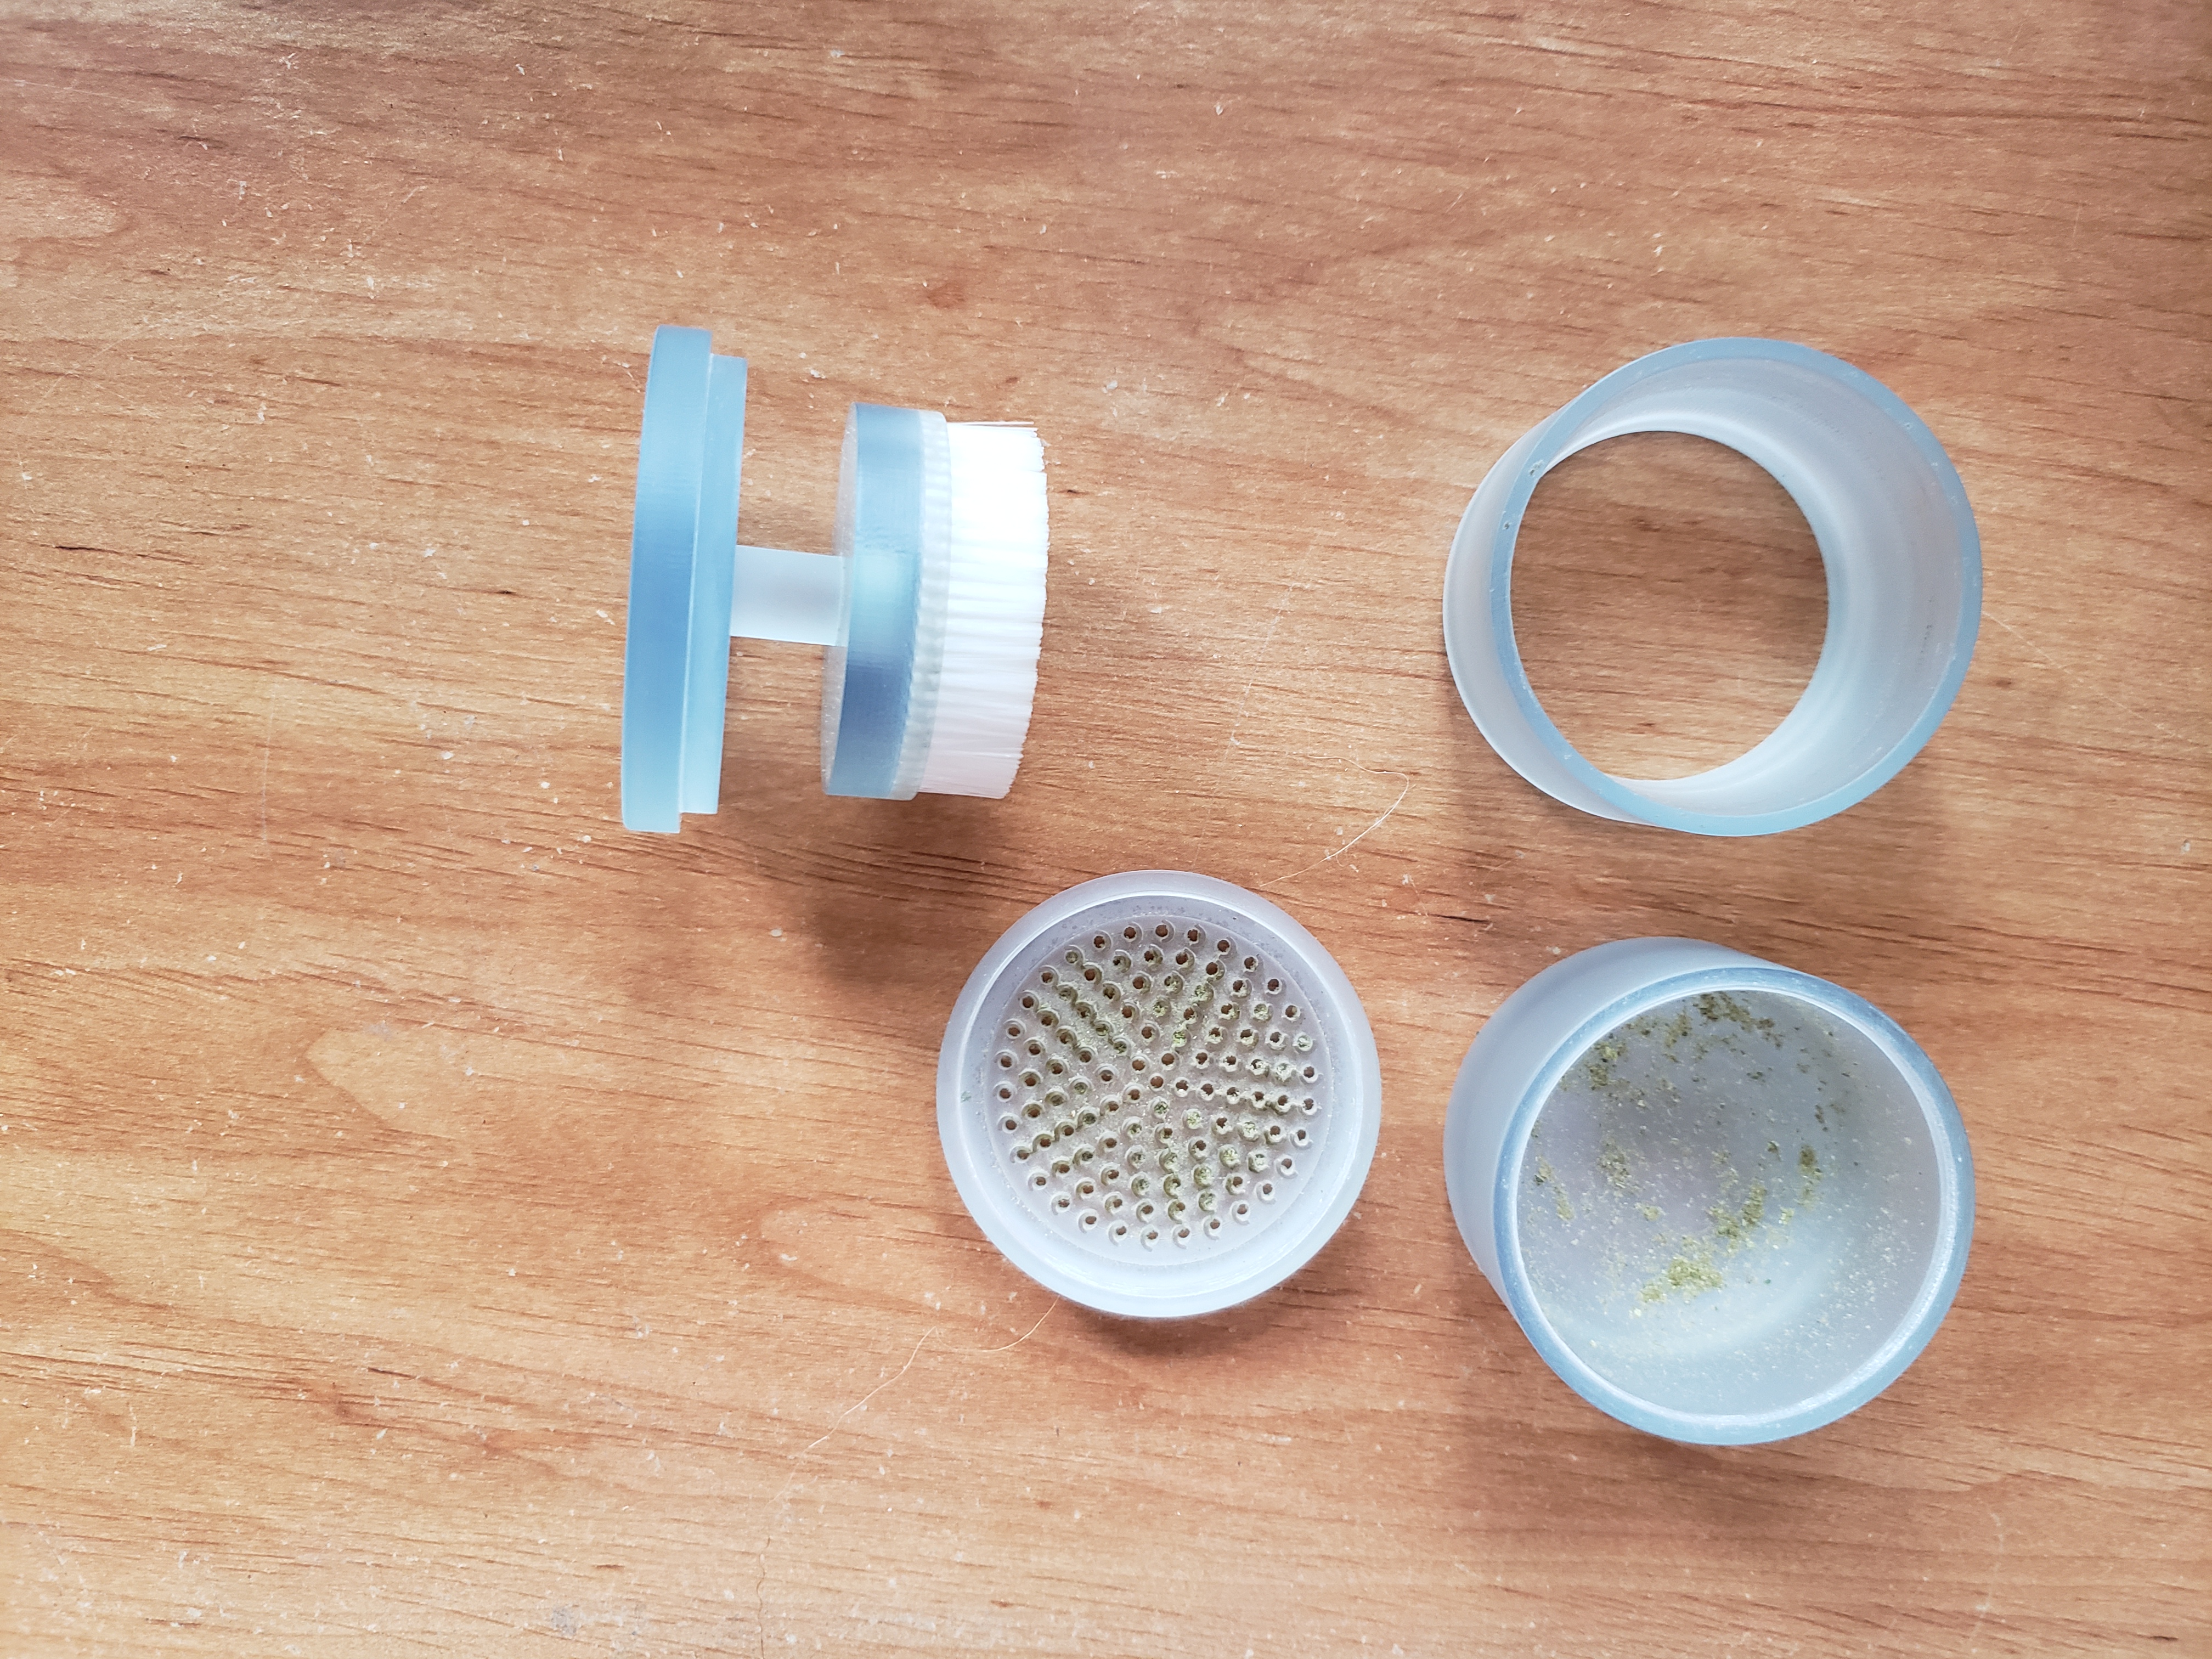
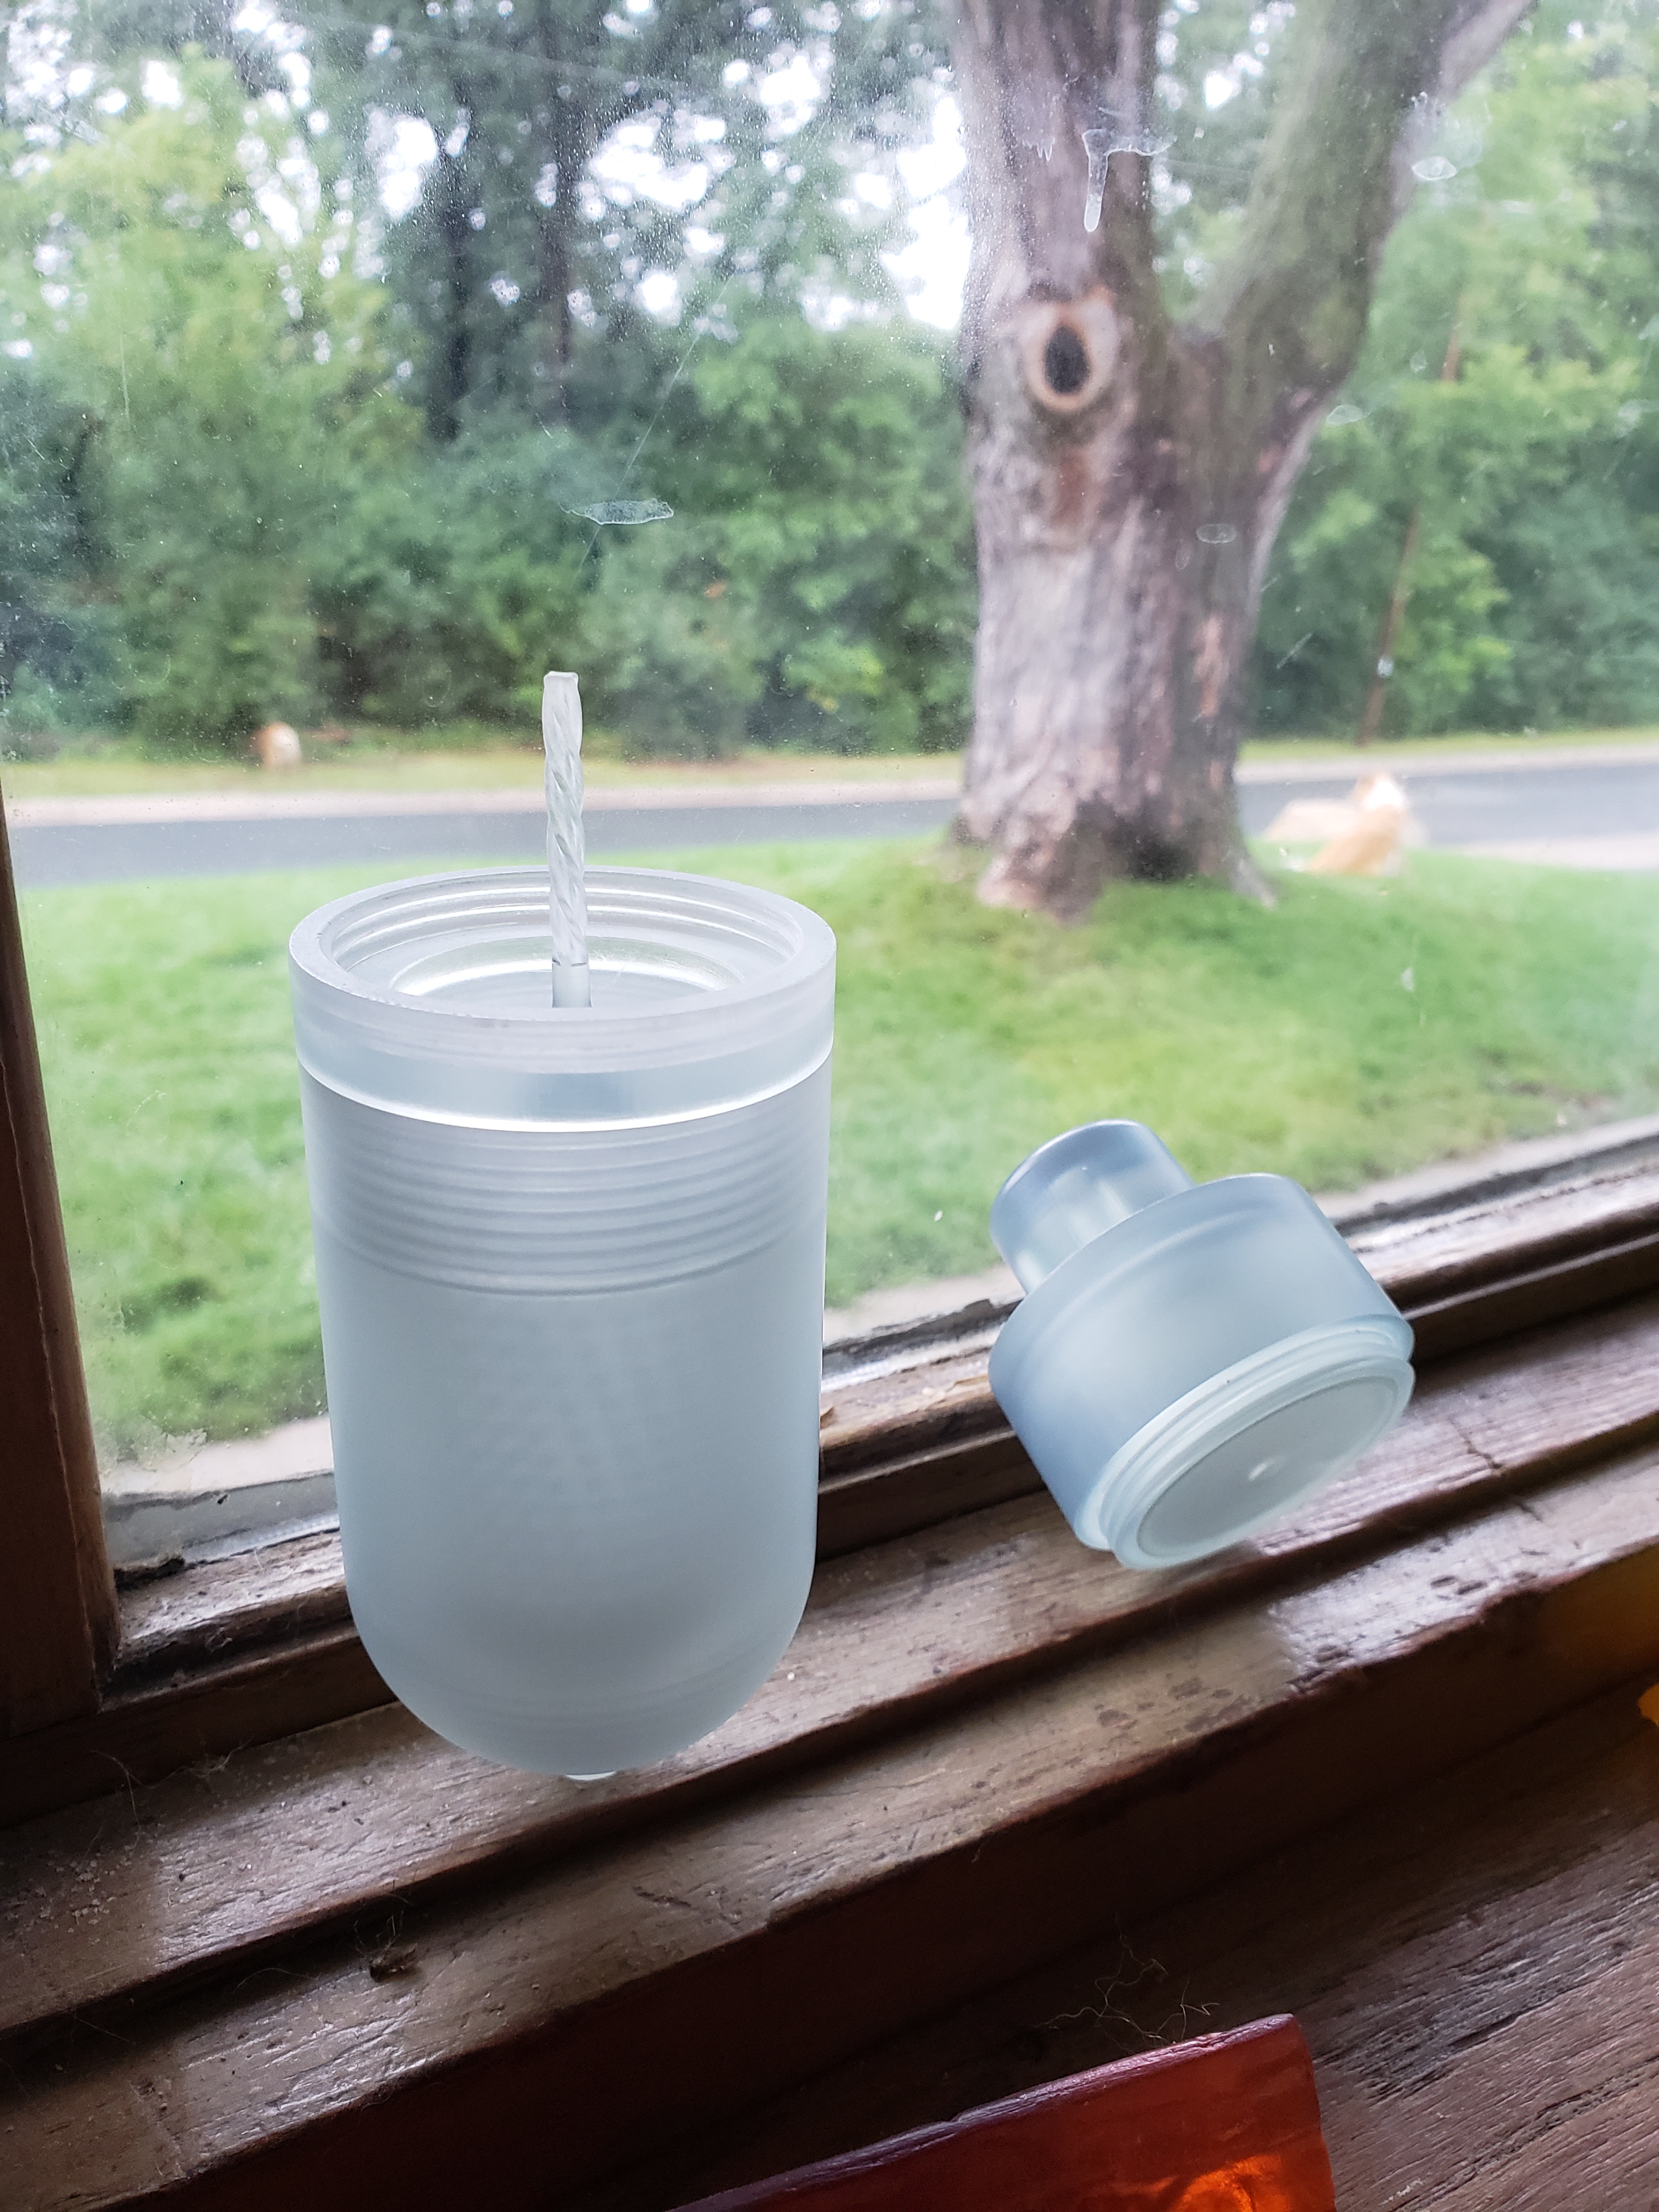
The original grinder comes in either plastic or aluminum and in four (4) different diameters. You will also receive four (4) different size sifting plates. An electric addon and pollen collection will be available in future models.
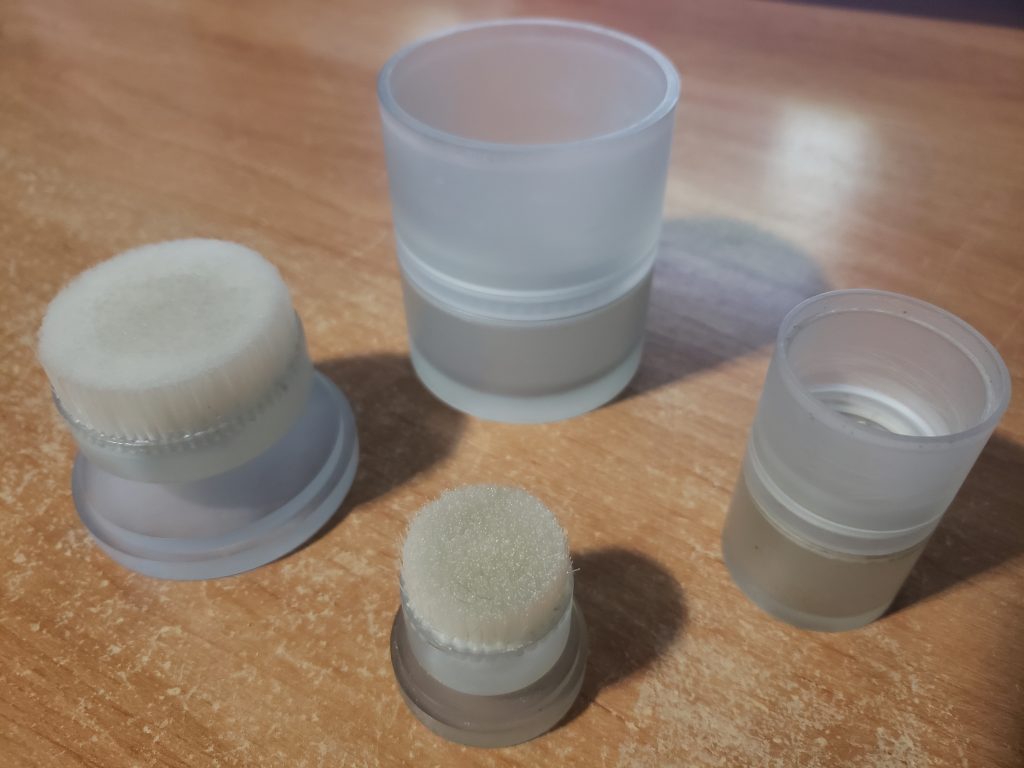
Grinder Basics
The Becktec, Inc cannabis grinder consists of nylon bristles to break down the flower off the stem.
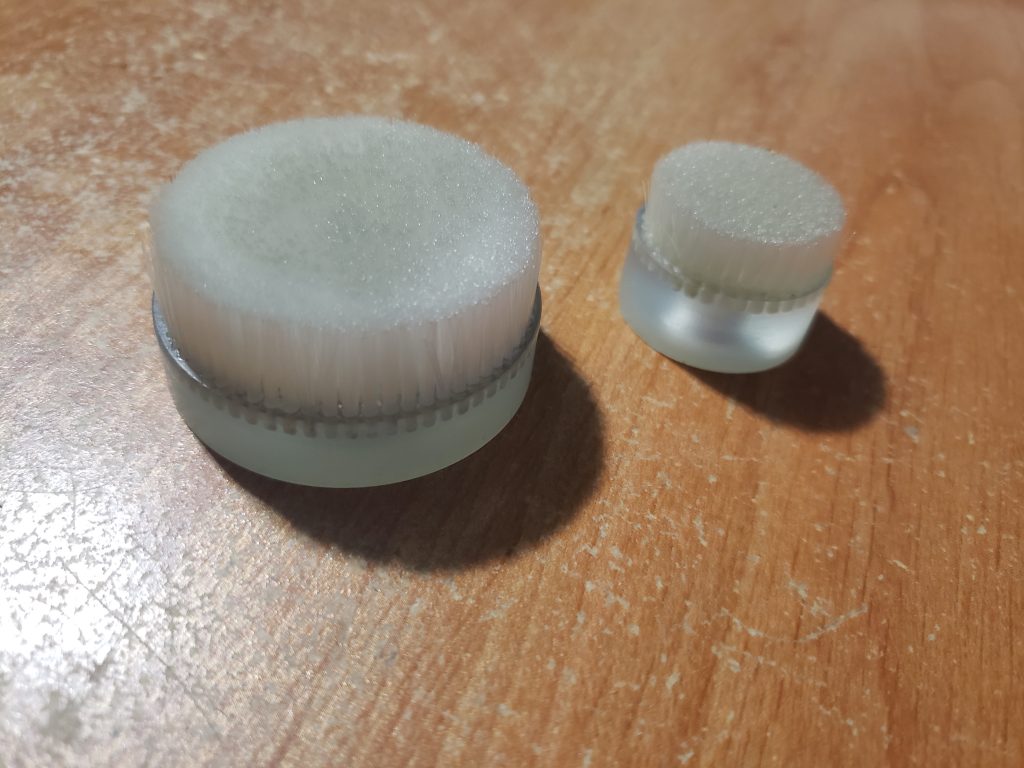
The bristles are soft and push the flower through various sifting plates with a light turning motion.
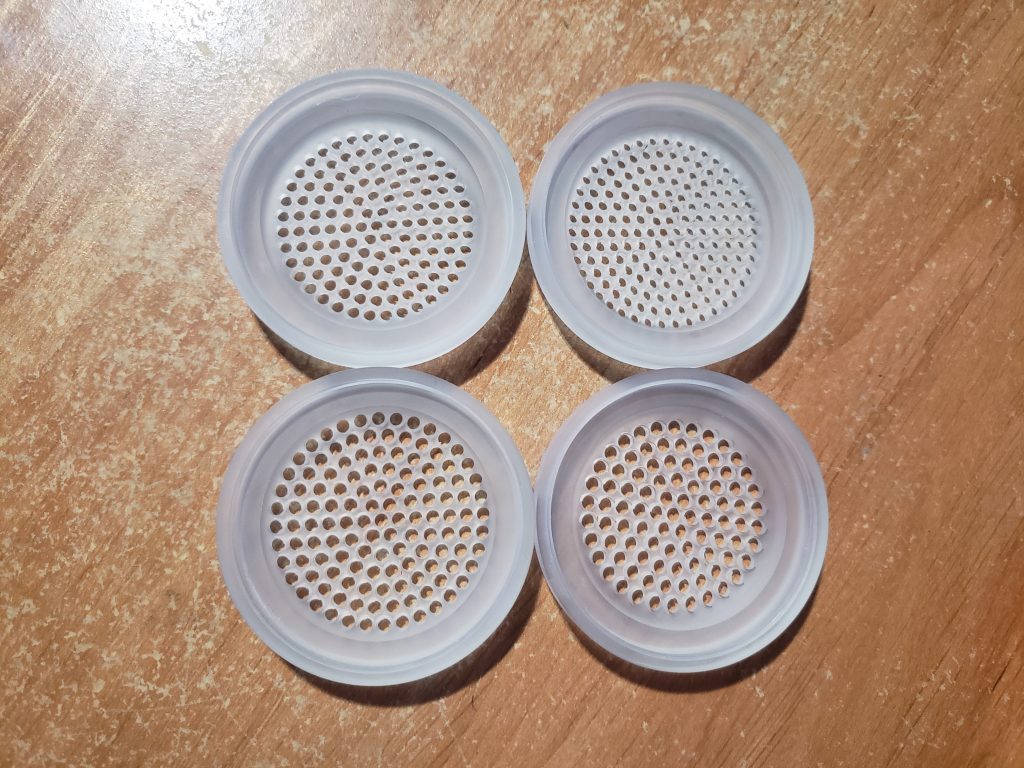
The extracted flower falls down into a holding chamber waiting to be consumed.
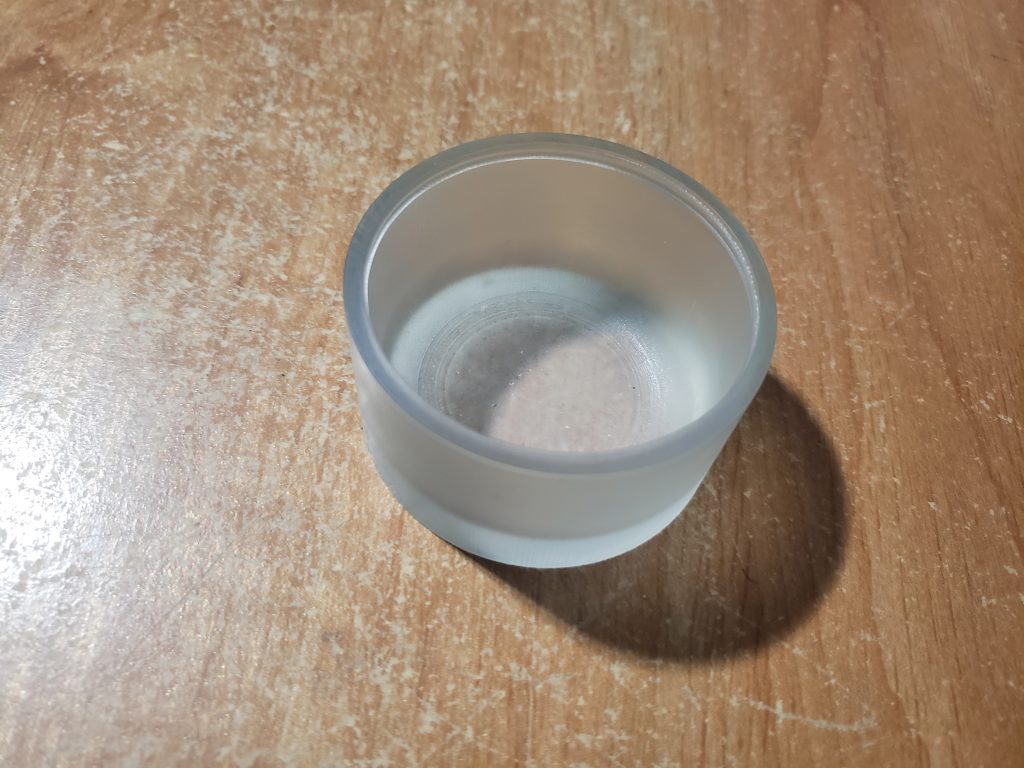
Grinder Cleaning
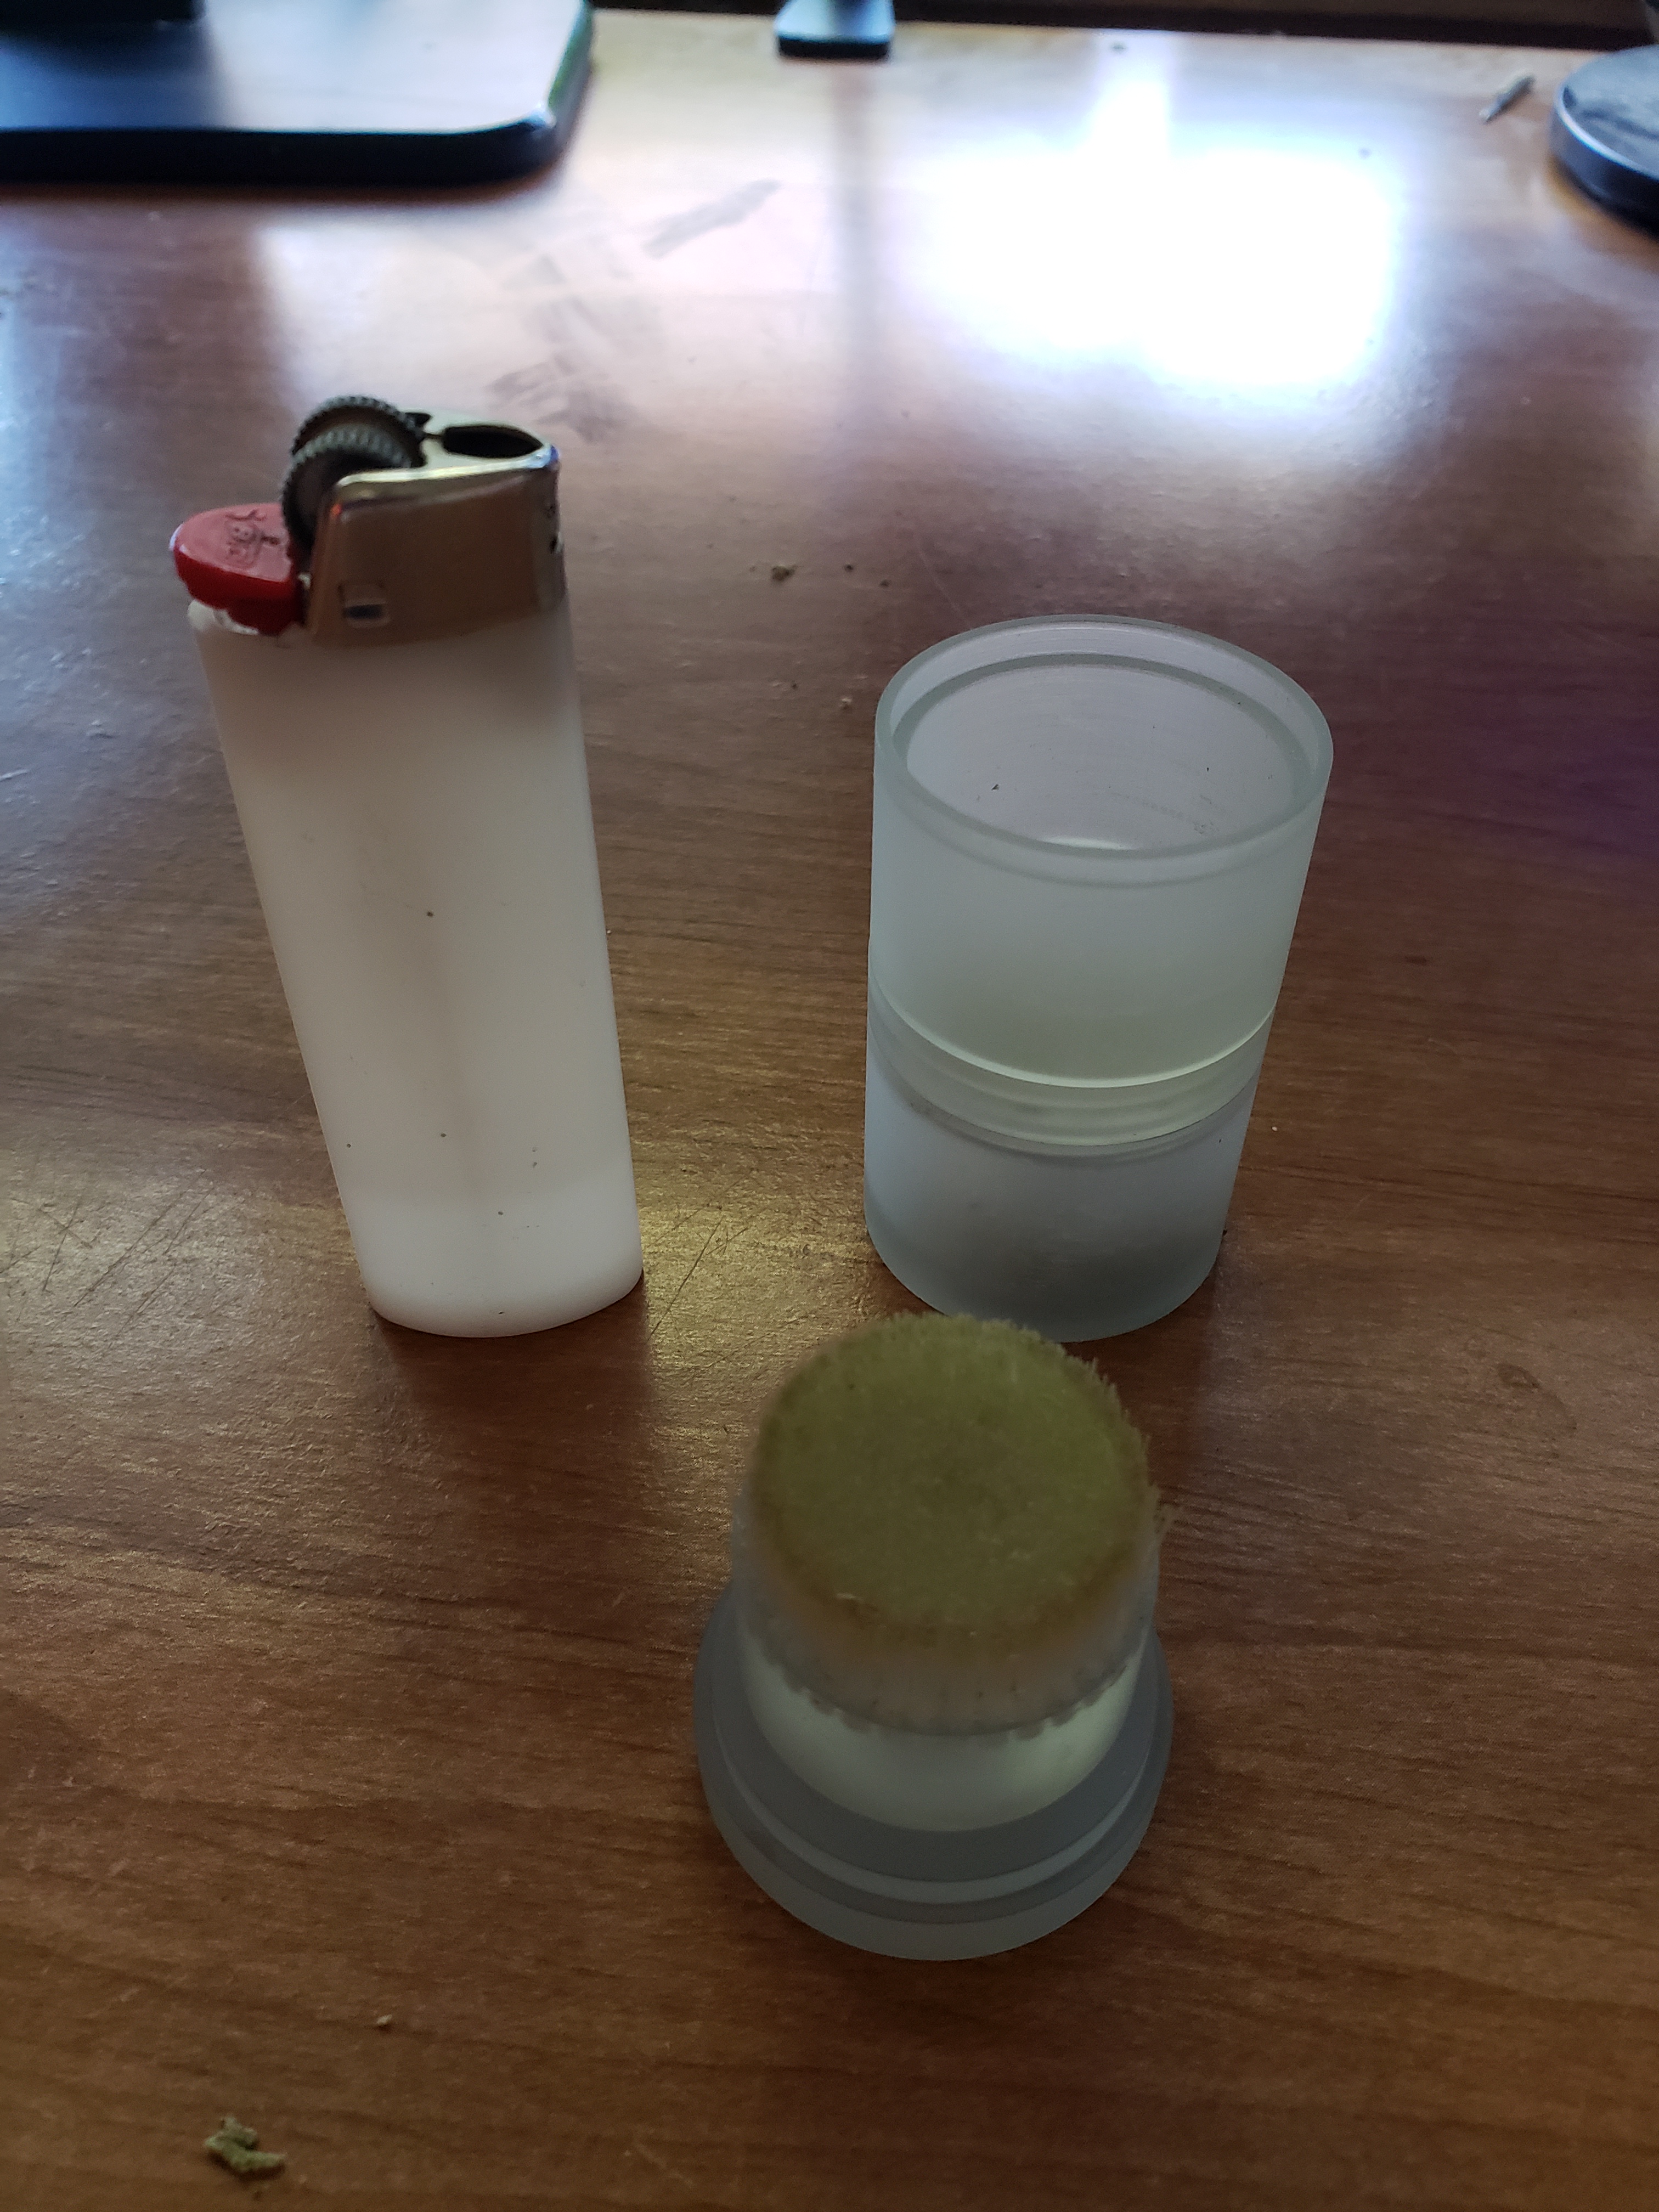
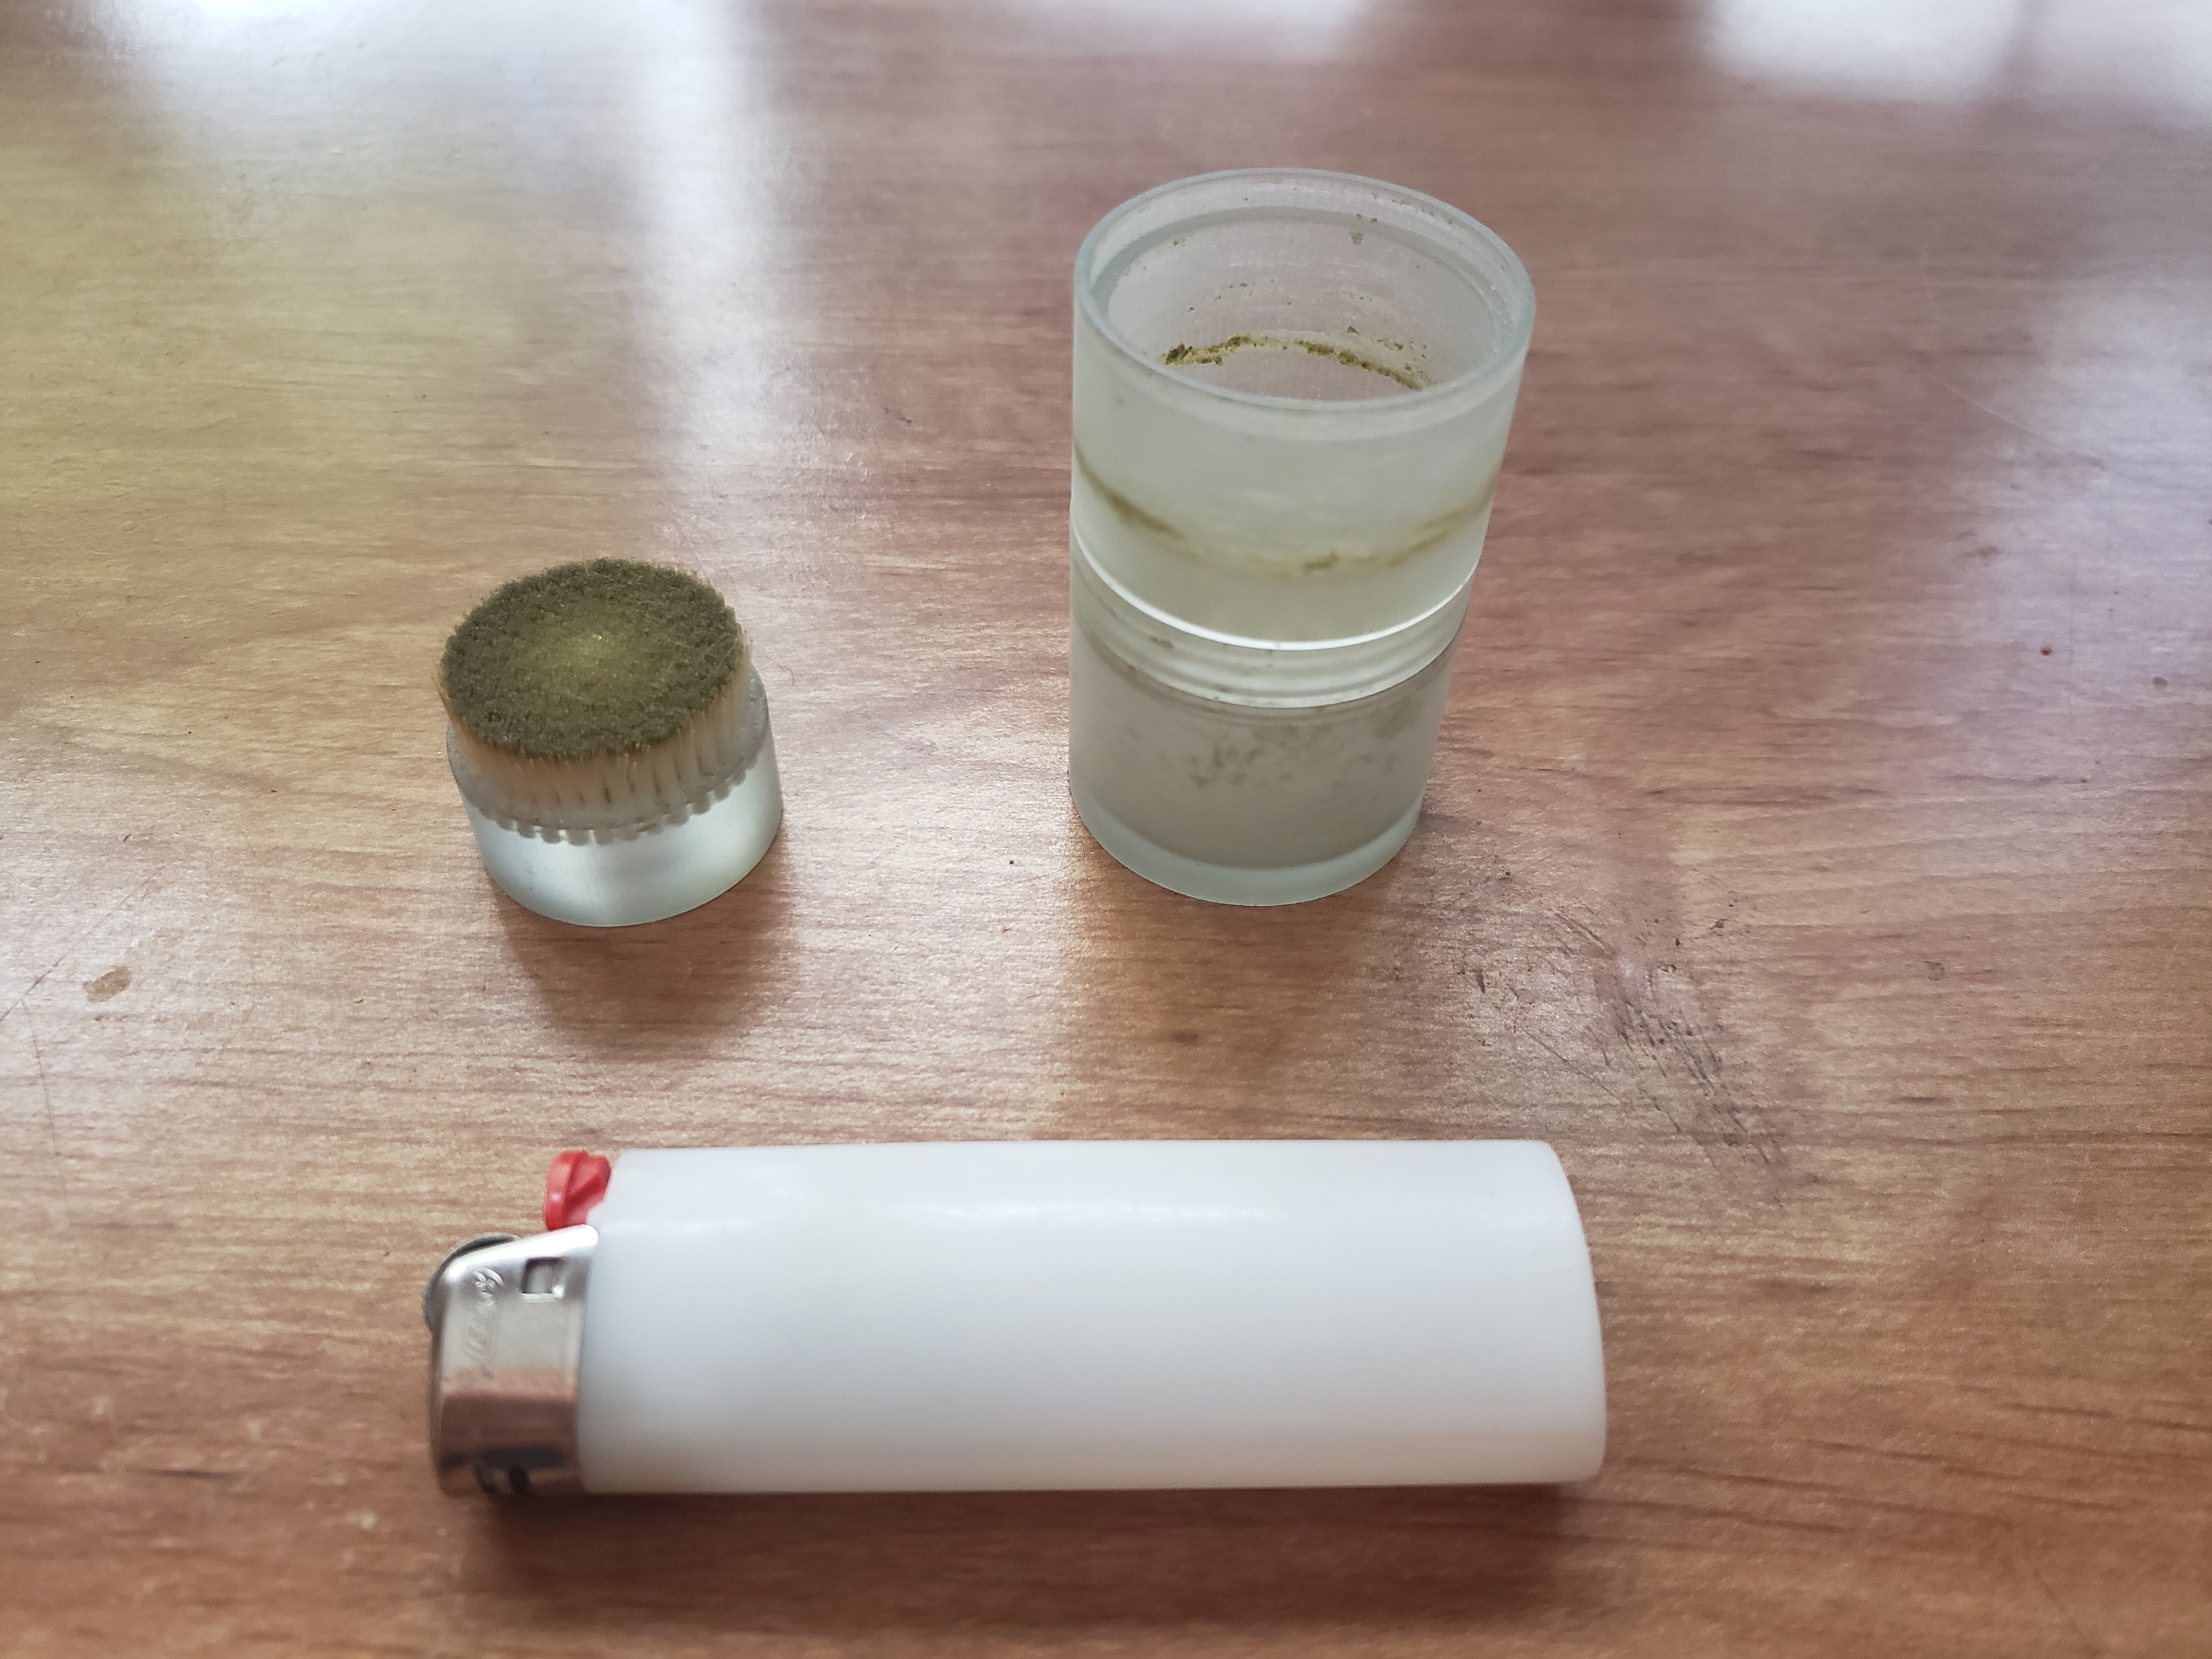
The bristles of the grinder get dirty after heavy daily use and must be cleaned to maintain proper functionality. This was after about three (3) full months of no cleaning.
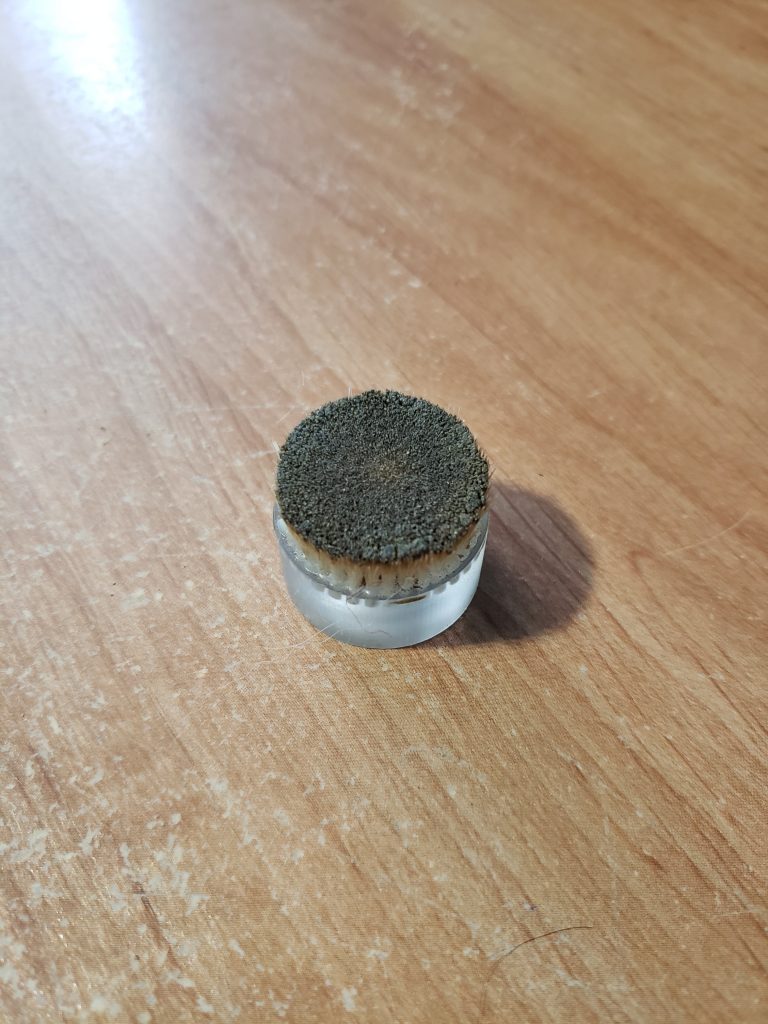
To clean the nylon bristles, put a small amount of 91% isopropyl alcohol on a flat surface and slide the brush with light force.
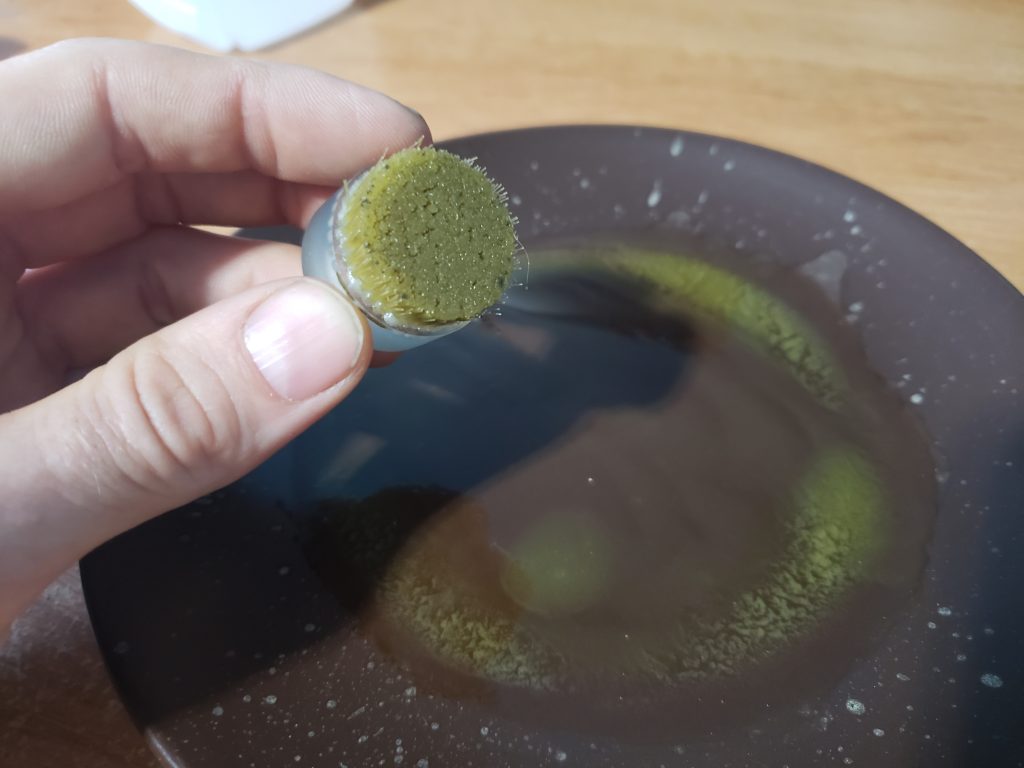
Rinse the brush in the sink or with a light stream of fresh 91% isopropyl alcohol, and repeat the process until clean.
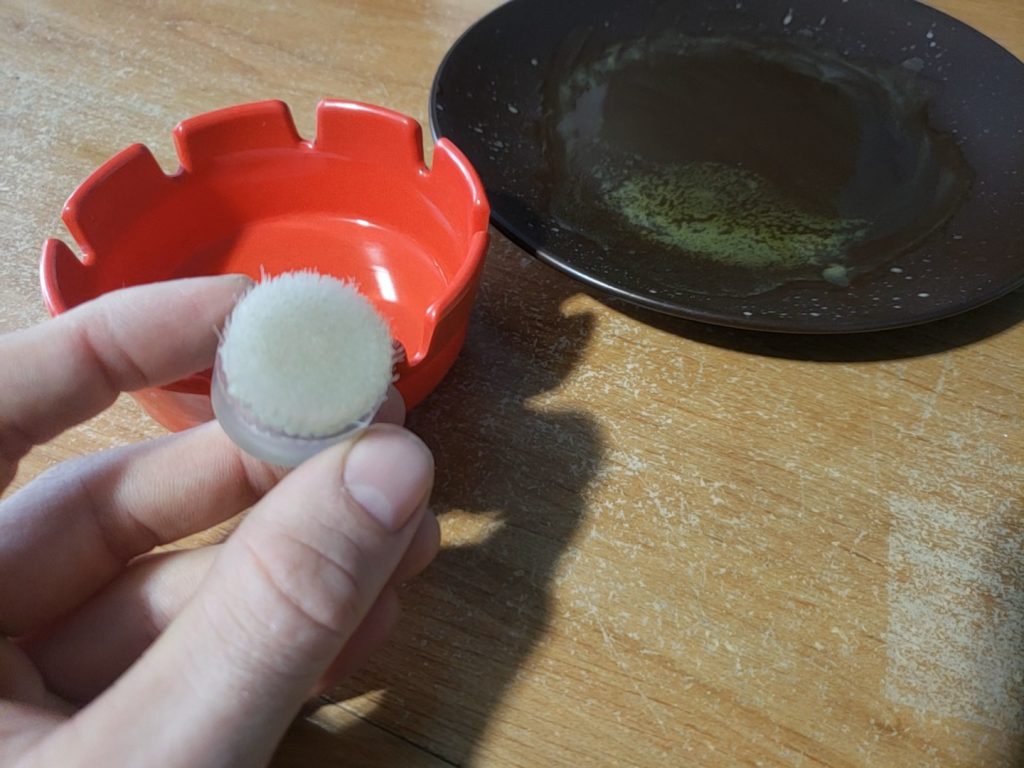
Once clean, wait for the isopropyl alcohol to evaporate and reclaim the cannabis which was removed and consume.
How it Started
The concept was officially lit in the fall of 2015 when my roommate and I were smoking, so to speak. While I was preparing the cannabis to be put into the grinder, I had to do the daunting task of separating the flower from the stem. Being mechanically inclined and a cannabis enthusiast, I thought to myself for a second and knew there had to be a mechanical way to get it done. I asked my roommate if they thought such a device could exist. Since they answered NO, that’s impossible. I knew I had to find a way.
Concept
A device to remove the stem from the cannabis flower in a small compact form, with one moving part.
A patent was filed on February 3rd of 2016 and GRANTED on June 30th of 2020.
The First Prototype
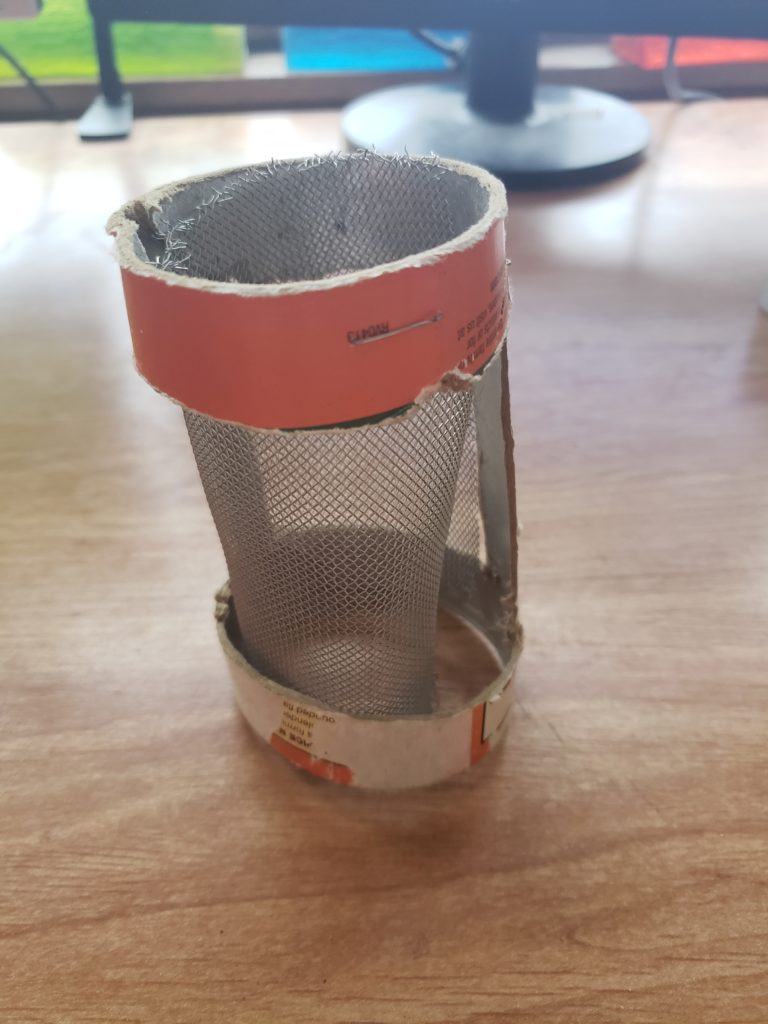
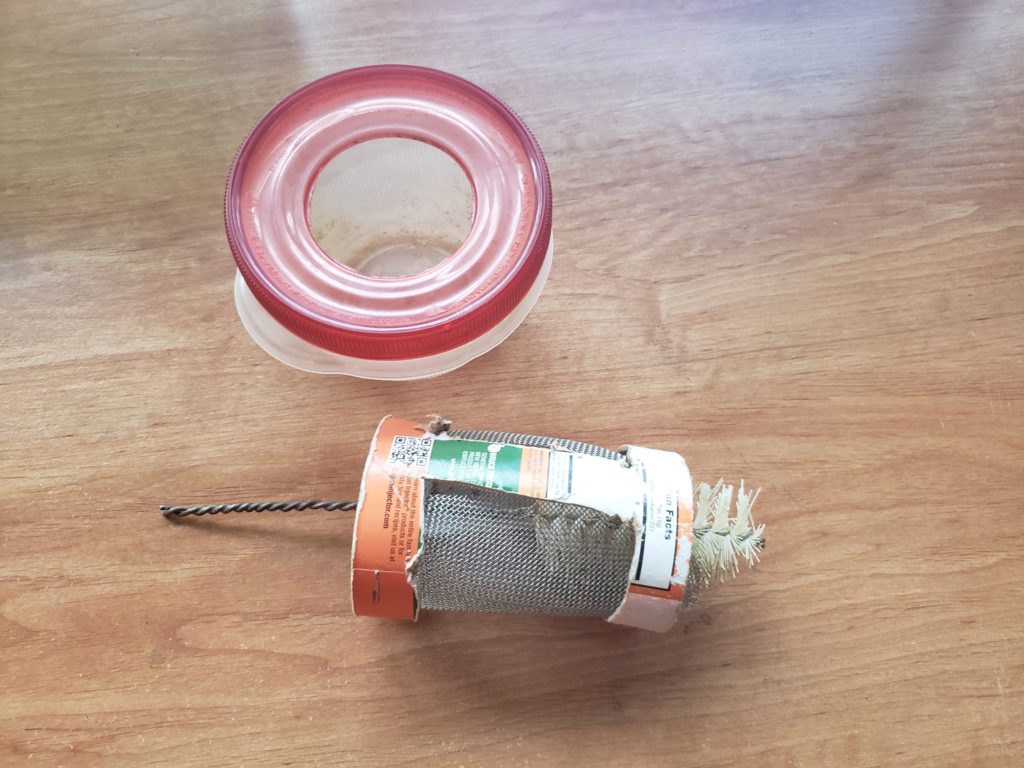
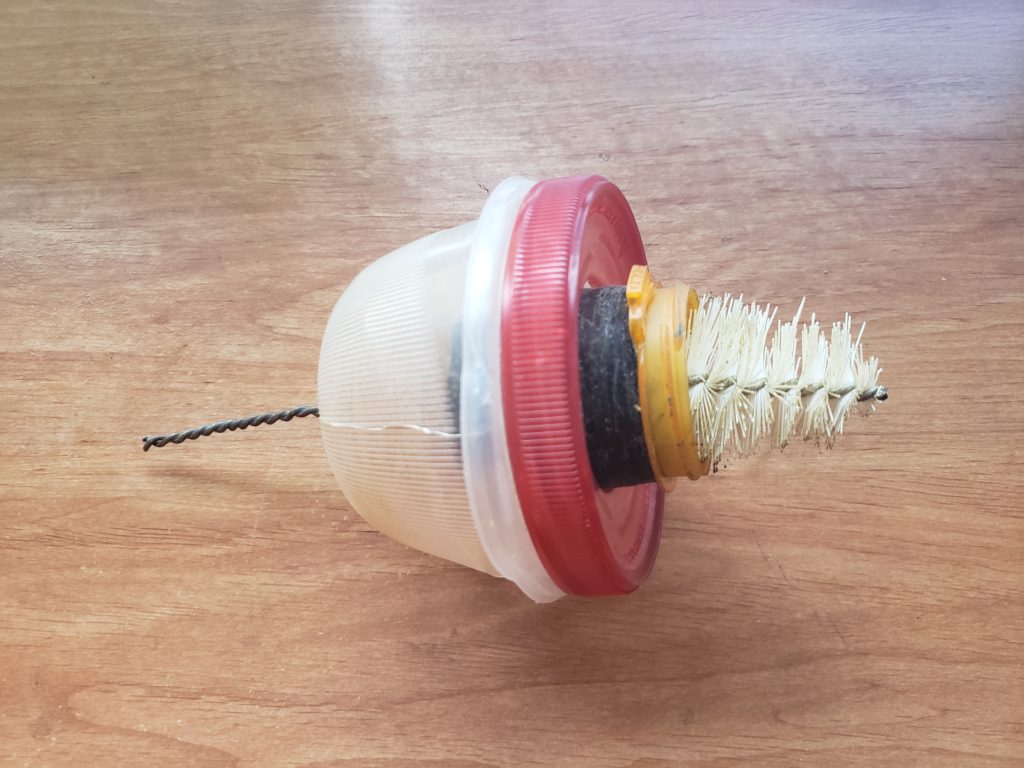
Immediately, after their response, I ran into the kitchen and started shuffling through the cabinets to see what I could find. Within minutes I had a spice container, metal mesh strainer, and a round plastic container with a lid. I started cutting the spice container sides, leaving large openings while maintaining structural rigidity. I then took the mesh off the metal strainer and proceeded to cut it in a fashion to allow it to be folded into a cylindrical shape. The last thing I did was cut a matching hole into the lid of the plastic container to fit the modified spice container.
I still wasn’t done though; I needed one more piece, a cylindrical brush. I ran all over the house for a good ten minutes before I landed upon one in the basement. One problem though, the diameter on the brush was too large. I took scissors and trim the bristles to fit inside the modified spice container. Finally, I drilled a hole in the bottom of the plastic container to allow rotation of the brush externally. Just like that, the first prototype is done!
The Second Prototype
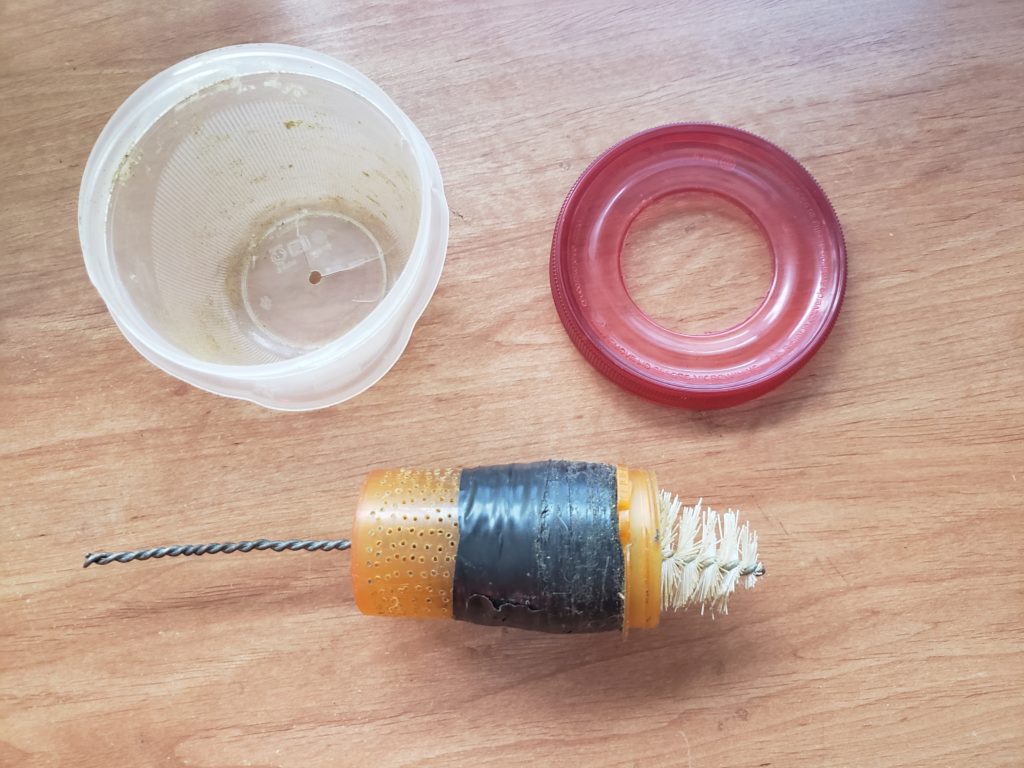
After successful test runs of the first prototype with real cannabis, I knew I had something and had to make a few upgrades. The first upgrade was going to be the modified spice container. It was getting ripped apart because it wasn’t able to withstand the twisting motion of the brush. I searched my house for a replacement and came up with old medicine bottles. I had a few different sizes laying around and one fit the trimmed brush perfectly. I then drilled small holes around the perimeter on the lower two-thirds of the medicine bottle, as well as one in the bottom. Bam, the second prototype is done!
The Third Prototype (1st-3rd CAD Model)
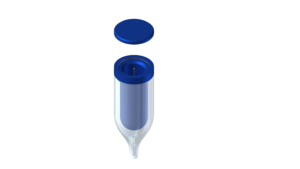
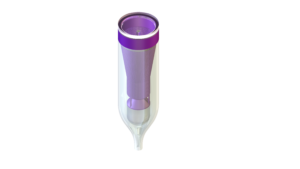
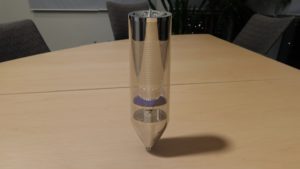
Since the first and second prototypes worked so efficiently with physical product, I decided it was time to draft the first model using Autodesk Inventor, a CAD software. This is what I came up with. The blue model was able to change holes sizes on the fly, which will be implemented in future models at a later date. The purple model has a motor at the bottom of the housing. Finally, the chrome/glass model has a motor as well as a pollen screen which the product flows over.
The Fourth Prototype (4th CAD Model)
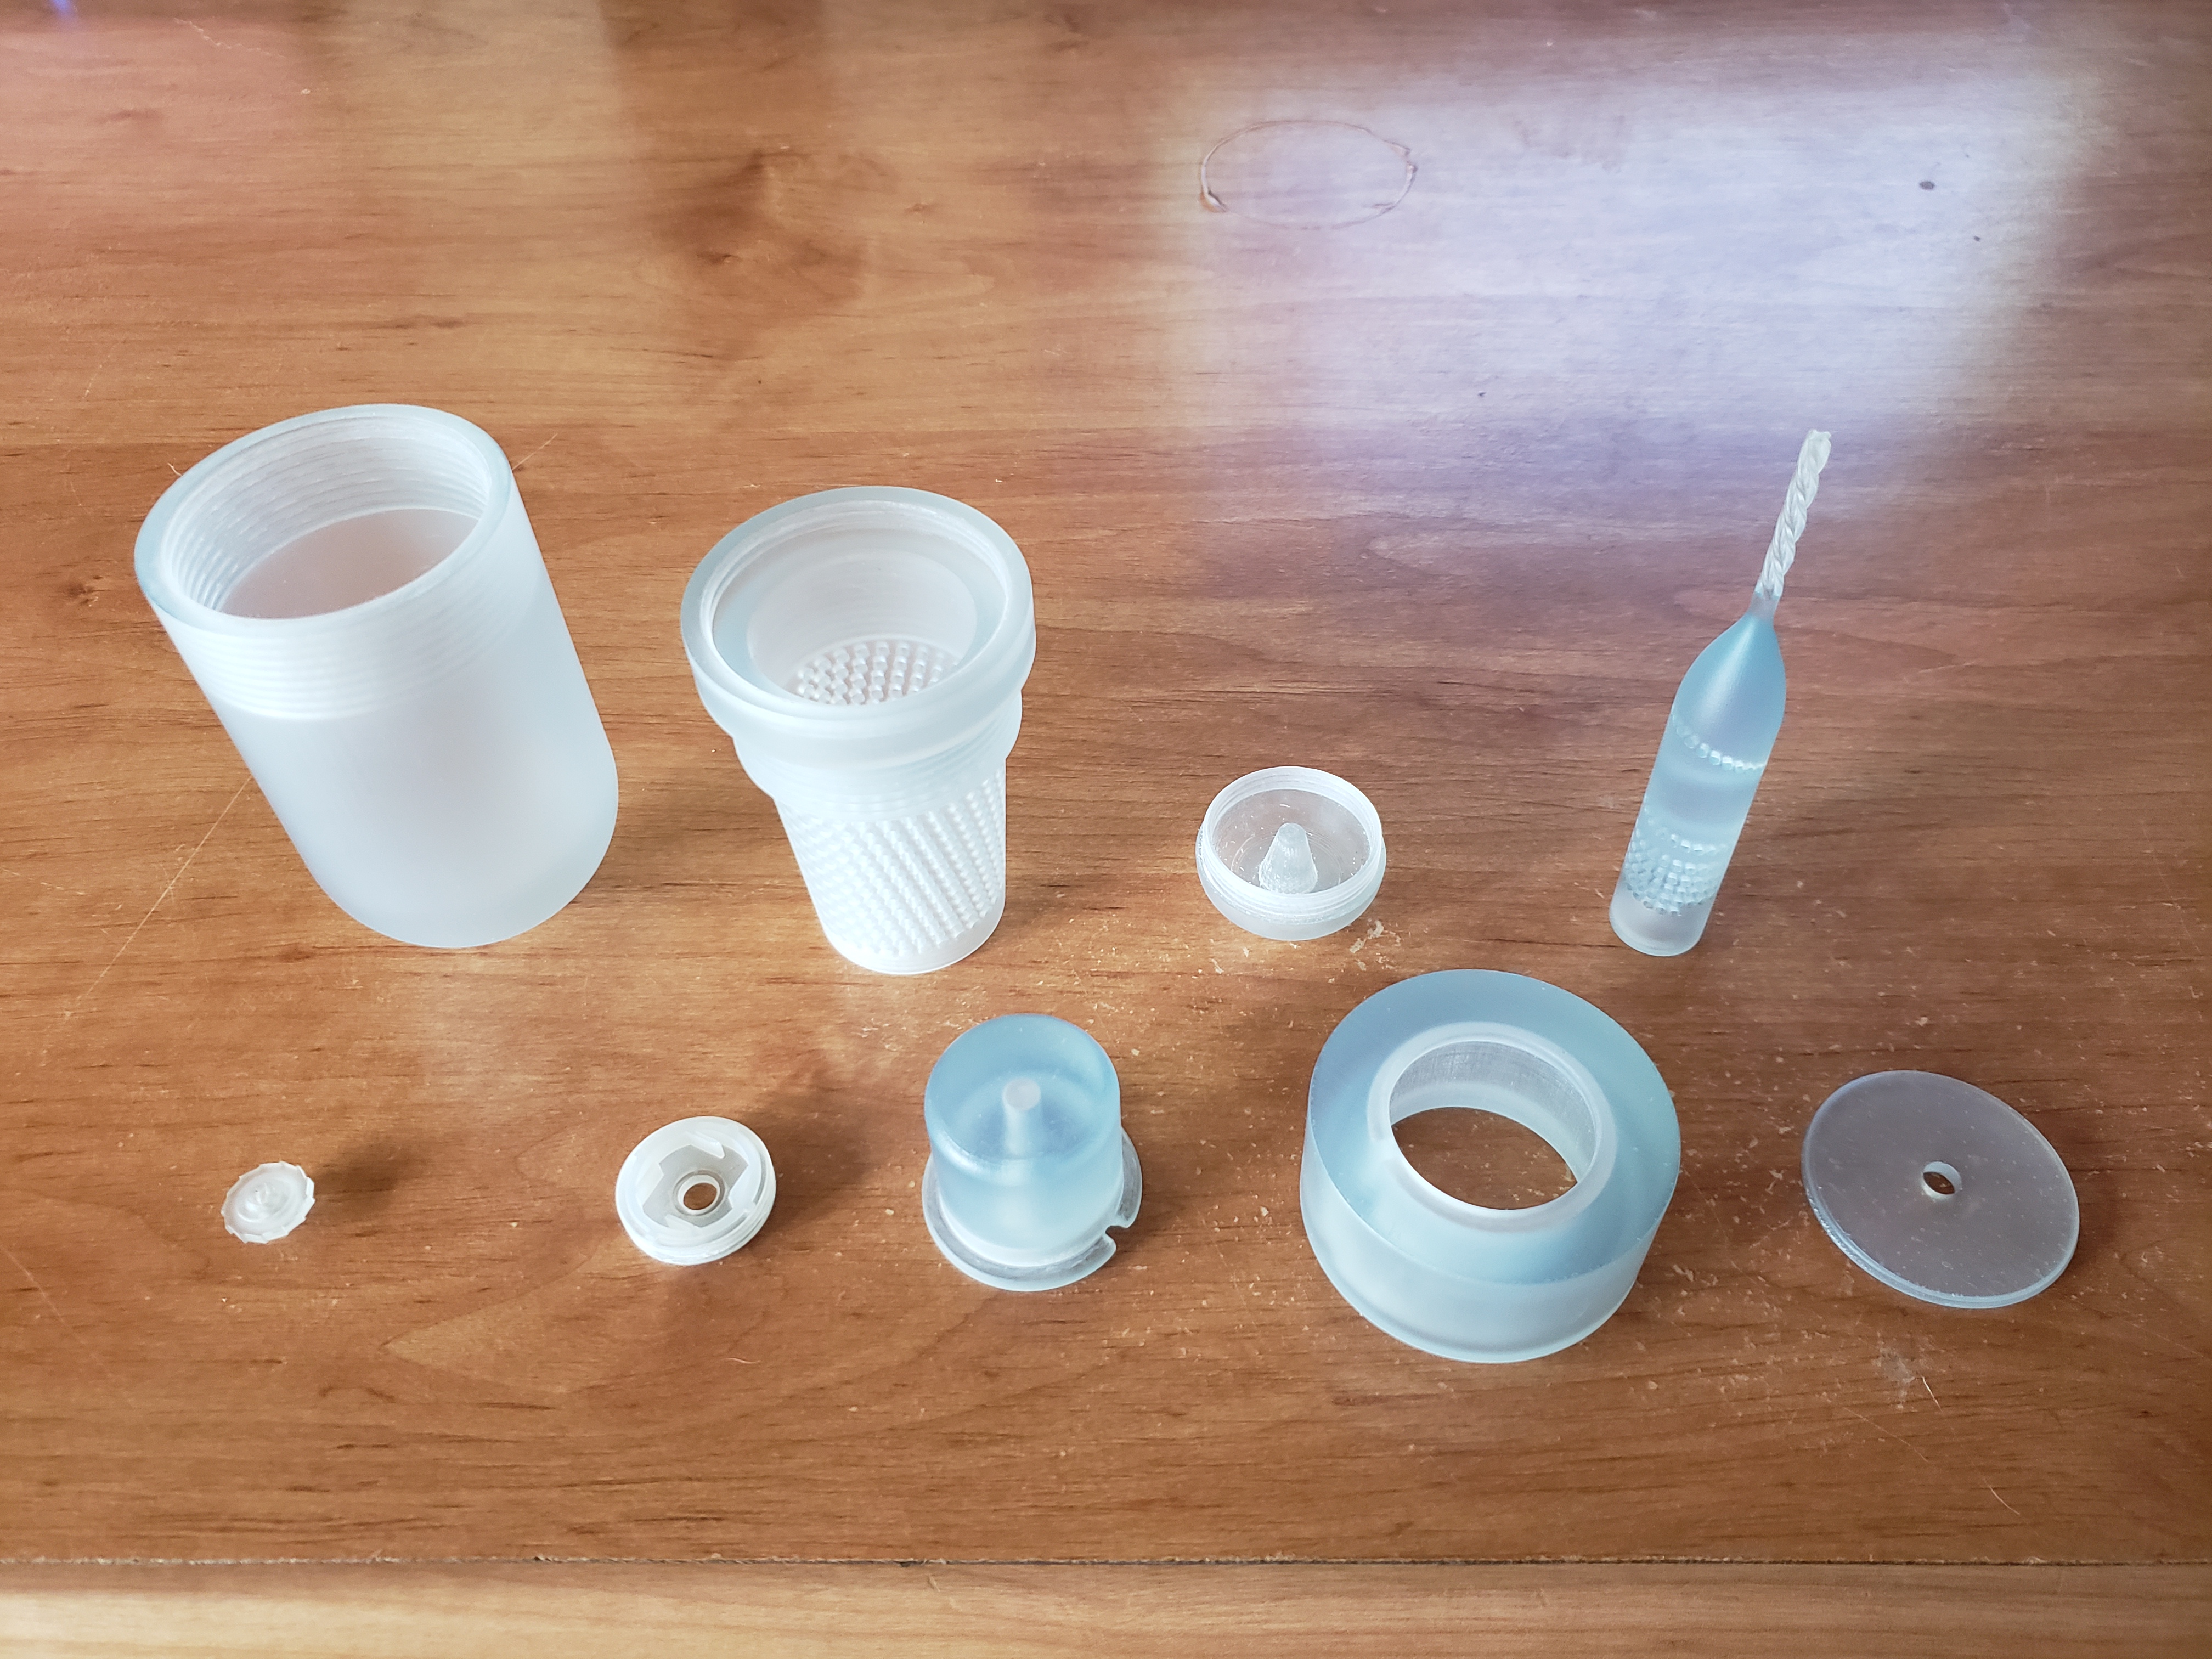
This is the very first prototype which was 3D printed from a CAD model. It works by pressing a spring loaded button with your thumb to rotate the brush.
The Fifth Prototype (4th CAD Model)
In this prototype, I completely changed the brush design to allow for more product to be easily inserted into the device. I made a new telescopic brush mechanism which connected into the same lid as before and pushed the product downwards. Still have to get bristles on the brush.
The Sixth Prototype (4th CAD Model)
To enhance the previous prototype, I had to add a few parts so the telescopic spindle stayed connected to the lid. I also removed the ratchet functionality.
The Seventh Prototype (5th CAD Model)
This prototype is way smaller, and is hand turned instead of a button.
The Eighth Prototype
I proceeded to make a larger diameter which also has a modified wall design so they don’t turn green. Here is a fresh model!
